I am sure your coffee cravings from Part 1 got you here. 🤭
But before that let’s learn a bit more about setting up channels and making payments on Lightning Network.
Now let’s set up two lnd nodes - 1 each for Alice and Bob. So open up two new terminals and move to our workspace $GOPATH. Create a new directory dev for development purpose and there create two folders alice & bob.
Starting LND node 🛠
cd $GOPATH
mkdir dev
cd dev
mkdir alice bob
So now we have two separate folders for running two lnd nodes.
The directory structure should look like:
tree $GOPATH -L 2
/home/prince/gocode
├── bin
│   ├── btcd
│   ├── lncli
│   └── lnd
├── dev
│   ├── alice
│   └── bob
└── pkg
    ├── mod
    └── sumdb
Now you can start the alice node from alice directory.
cd $GOPATH/dev/alice
alice$ lnd --rpclisten=localhost:10001 --listen=localhost:9735 --restlisten=localhost:8080 --datadir=data --logdir=log --debuglevel=info --bitcoin.testnet --bitcoin.active --bitcoin.node=bitcoind --adminmacaroonpath=data/chain/bitcoin/testnet/admin.macaroon
Let’s learn what all these flags 🚩do:
(these flags are important since we’ll be running two nodes)
--rpclisten: The host:port to listen for the RPC server. This is the primary way an application will communicate with lnd
--listen: The host:port to listen on for incoming P2P connections(default-9735)
--restlisten: The host:port exposing a REST api for interacting with lnd over HTTP
--datadir: The directory that lnd’s data will be stored inside
--logdir: The directory to log output.
--debuglevel: The logging level for all subsystems. Can be set to trace, debug, info, warn, error, critical.
--bitcoin.testnet: Specifies whether to use testnet or simnet
--bitcoin.active: Specifies that bitcoin is active
--bitcoin.node=bitcoind: Use the bitcoind to interface with the blockchain
--adminmacaroonpath: Authencticate the node
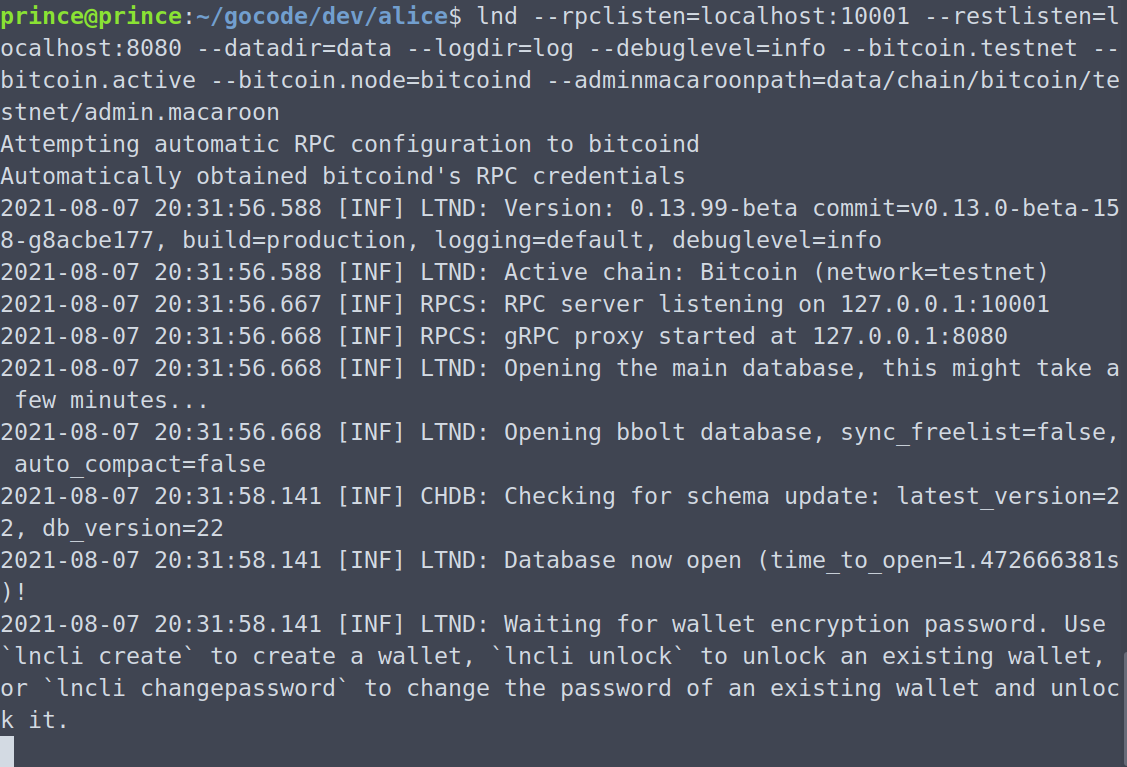
You might see Waiting for wallet encryption password in the terminal. So in a new terminal, you should unlock the wallet using the command lncli unlock.
Note: Bitcoind should be running in the background.
Tip: You can add
alias lncli-alice="lncli --rpcserver=localhost:10001 --macaroonpath=data/chain/bitcoin/testnet/admin.macaroon"to.bashrcto avoid rewriting the flags and just uselncli-alice unlock/create
Note that we added the flag --rpcserver to the command. This is important since we will be running two nodes and we need to specify which node’s wallet we are trying to access.
Similarly we can start Bob’s node from bob directory.
#In new terminal
cd $GOPATH/dev/bob
bob$ lnd --rpclisten=localhost:10002 --listen=localhost:9736 --restlisten=localhost:8081 --datadir=data --logdir=log --debuglevel=info --bitcoin.testnet --bitcoin.active --bitcoin.node=bitcoind --adminmacaroonpath=data/chain/bitcoin/testnet/admin.macaroon
Now in another terminal window:
#create a new wallet
lncli-bob create

#unlock wallet if wallet already exists
lncli-bob unlock
Note:
lncli-bobis defined as alias in.bashrcfile
Getting new Bitcoin addresses 🏠
For creating a new address you need to specify the type of address. You can always use --help flag to get detailed info of the command.
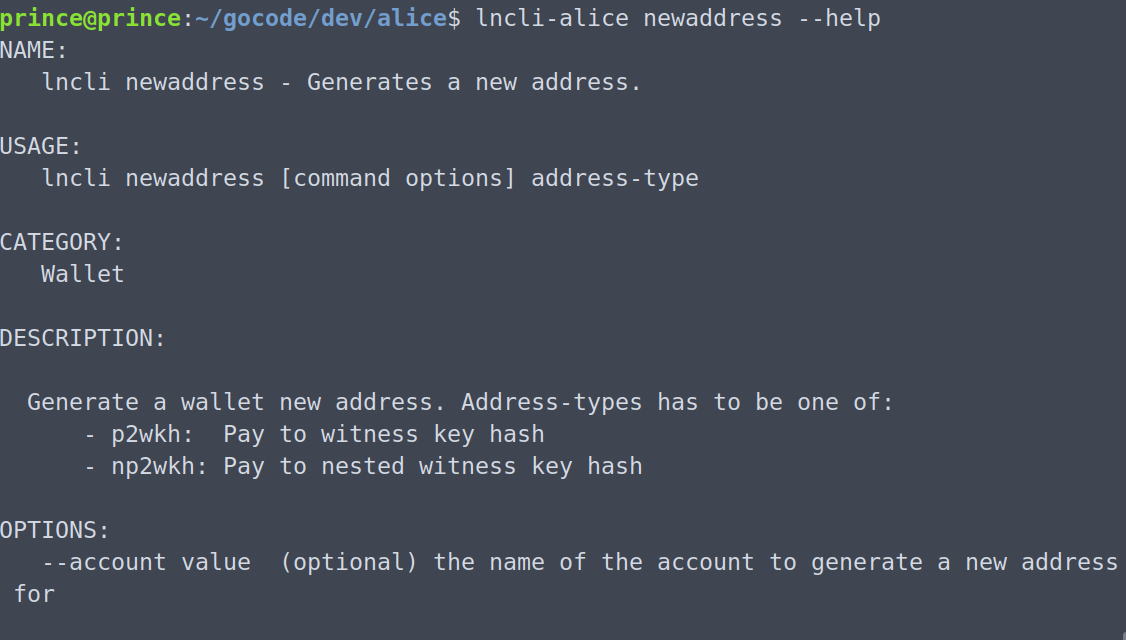
alice$ lncli-alice newaddress np2wkh
{
    "address": <ALICE_ADDRESS>
}
Same for bob.
bob$ lncli-bob newaddress np2wkh
{
    "address": <BOB_ADDRESS>
}
Getting Test Bitcoins 💰
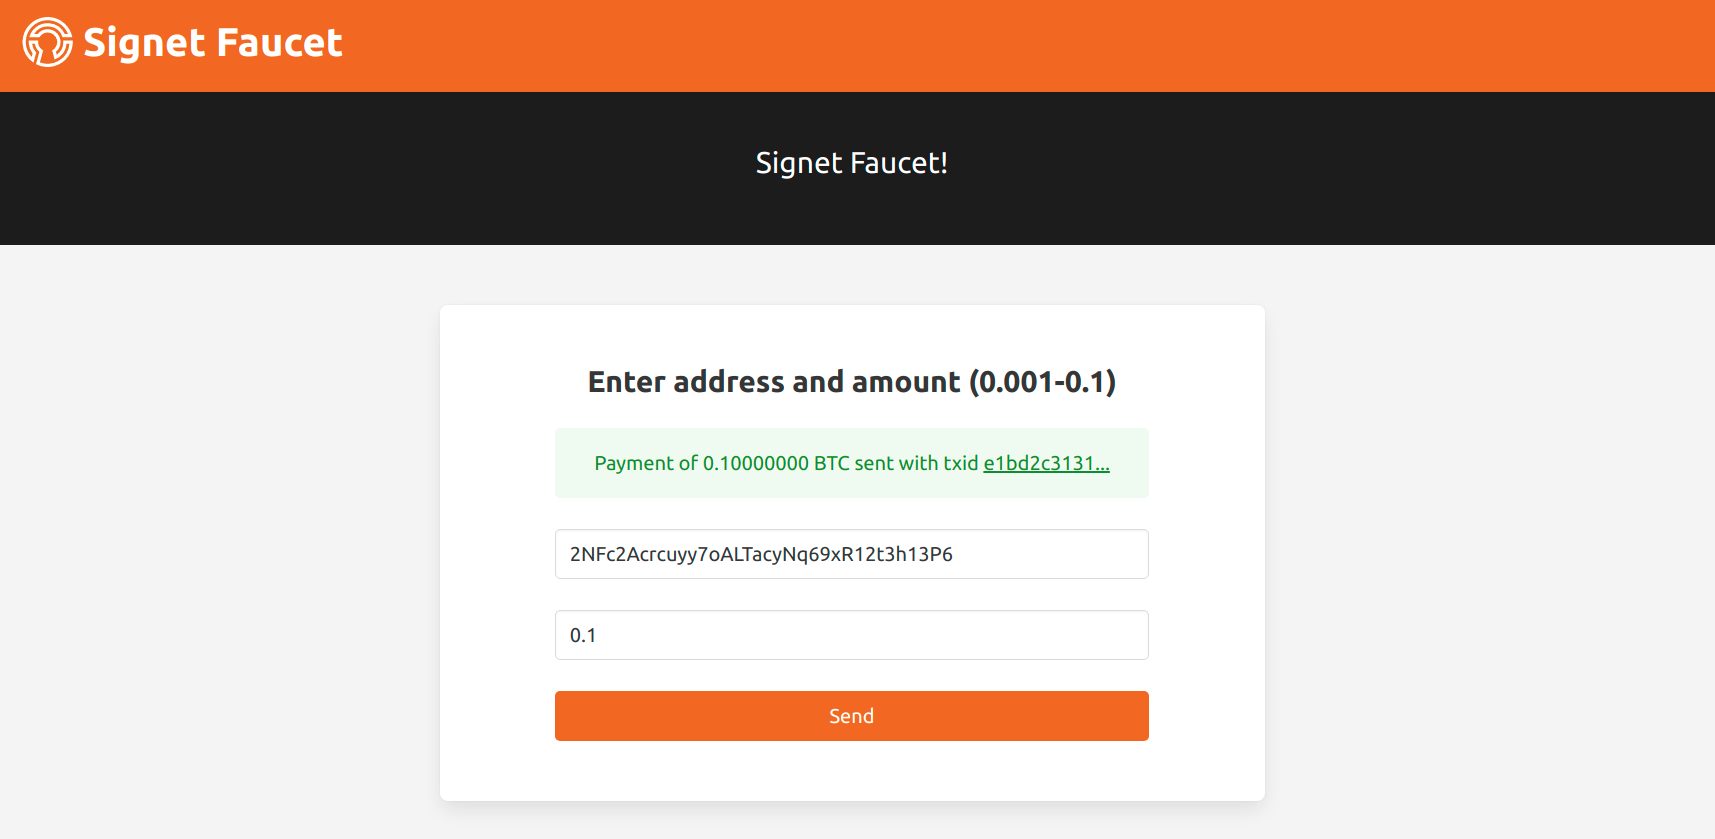
Once you have your new address you can use Signet Faucet to get some test coins, and check the balance using lncli-alice walletbalance
Opening Channels 💡
Now, that we have some bitcoins to fund the channel, we’ll try to open a channel with bob. First let’s connect to Bob and for that we’ll need Bob’s pubkey.
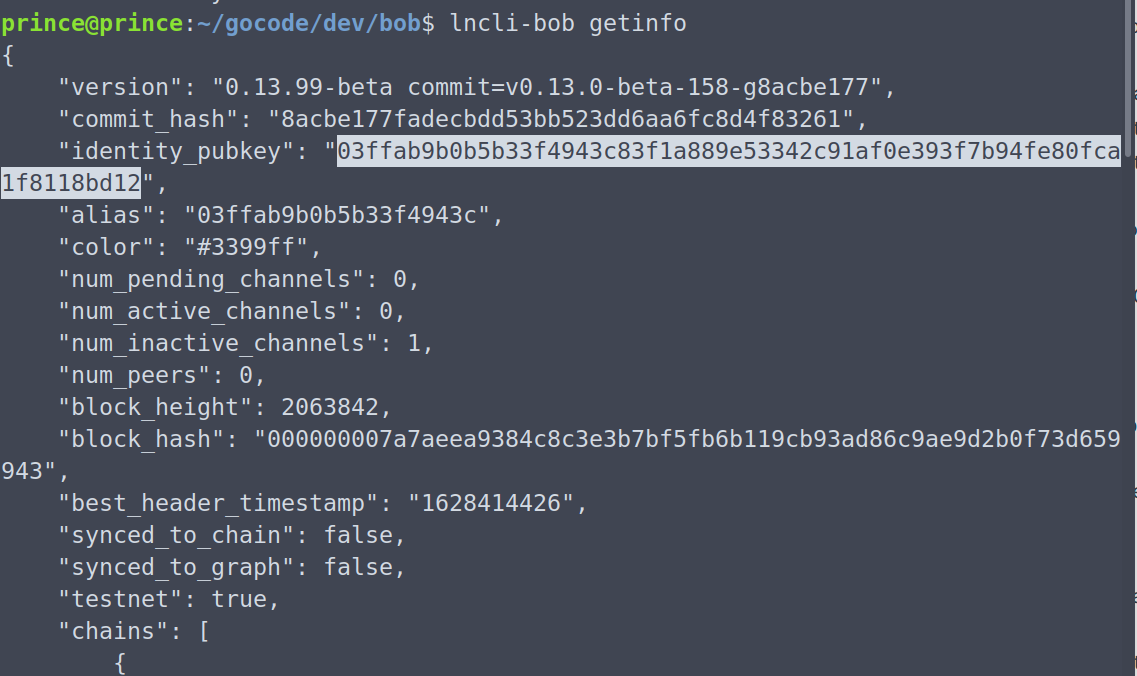
Go ahead and copy the pubkey, and try to connect to bob. We need to append the pubkey with @host:port to which bob’s lnd node is listening to for incoming p2p connections.
lncli-alice connect 03ffab9b0b5b33f4943c83f1a889e53342c91af0e393f7b94fe80fca1f8118bd12@localhost:9736Note: We specified bob’s listening port as 9736 while initialising lnd node.(–listen=localhost:9736)

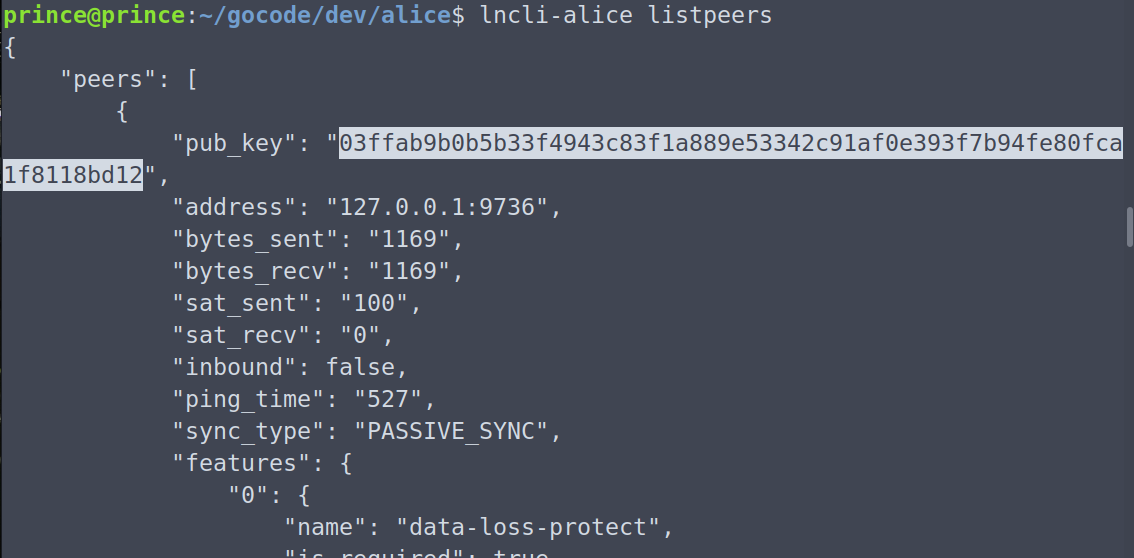
Let’s check if Alice and Bob are now peers using lncli-alice listpeers
We can see Bob’s pub key in Alice’s list of peers.
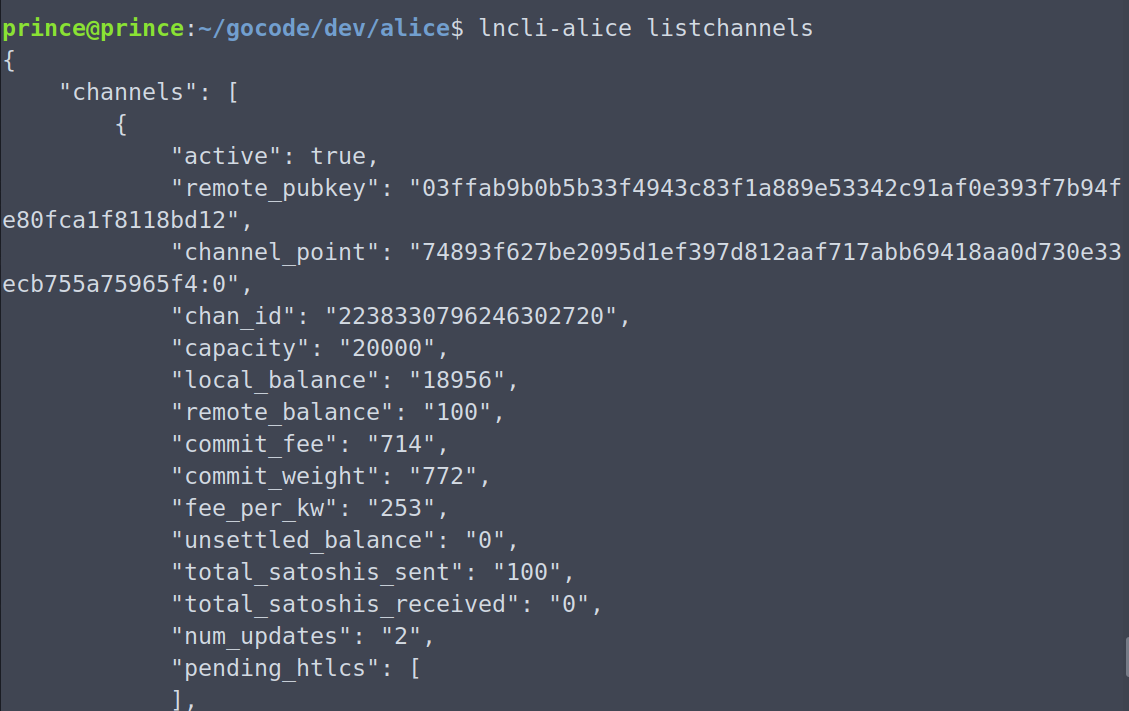
Now that they are connected, we can open a channel between them.
lncli-alice openchannel --node_key=03ffab9b0b5b33f4943c83f1a889e53342c91af0e393f7b94fe80fca1f8118bd12 --local_amt=20000--local_amt: specifies the amount of money that Alice will commit to the channel

Yaay!! The channel got created. 🎯
Making Payments ✅
Now, let’s make payments! Let’s send a payment from Alice to Bob. First, bob needs to create an invoice.
#creating invoice of 10000 sats
lncli-bob addinvoice --amt=10000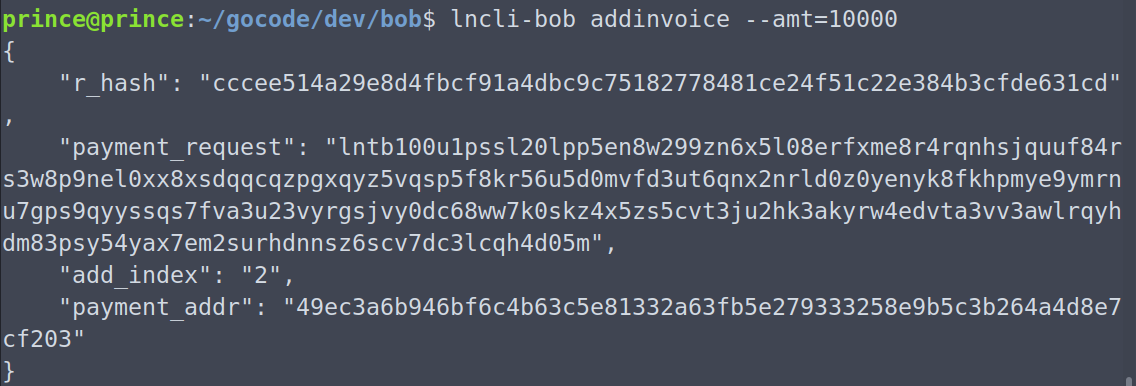
Send the payment from Alice to Bob:
lncli-alice sendpayment --pay_req=<encoded_invoice>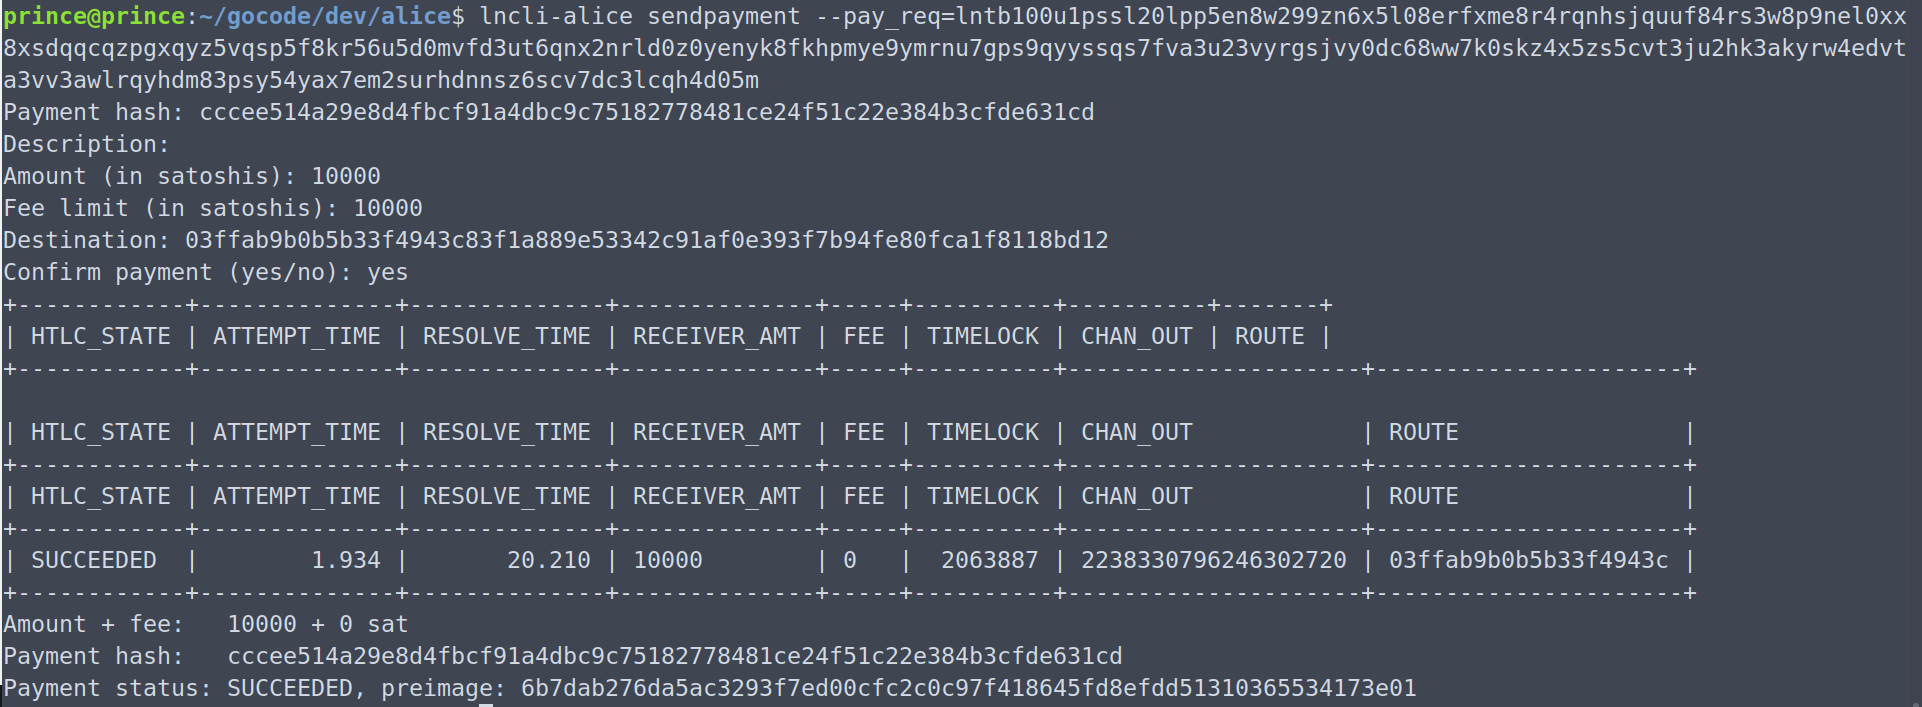
Success! 😎
Buying Coffee ☕
Finally its time to choose which flavour of coffee you like from the famous StarBlocks 😄
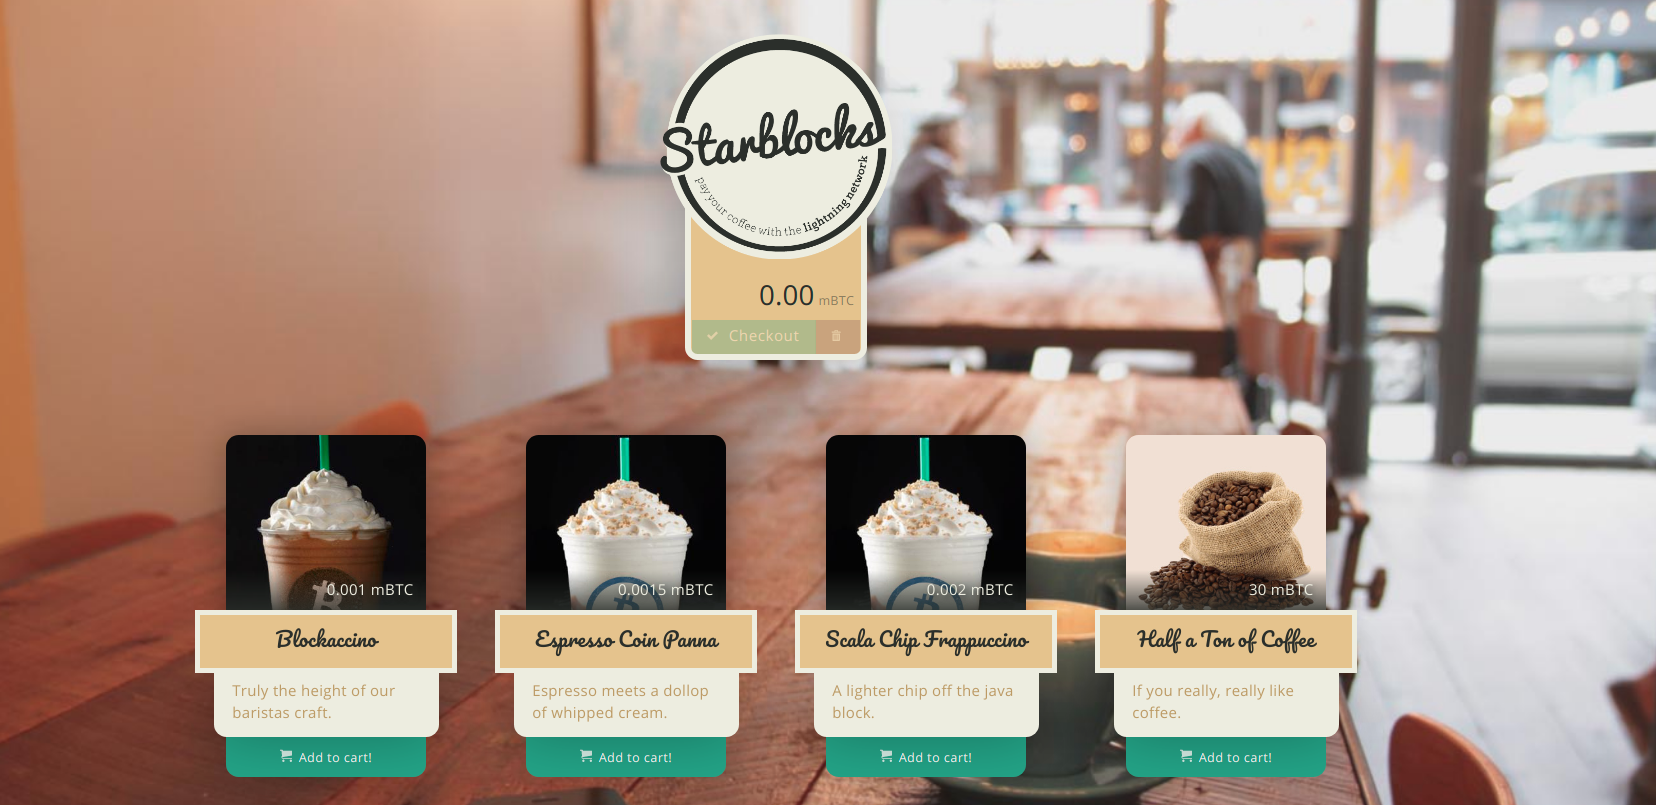
Click on checkout and you’ll get an invoice.
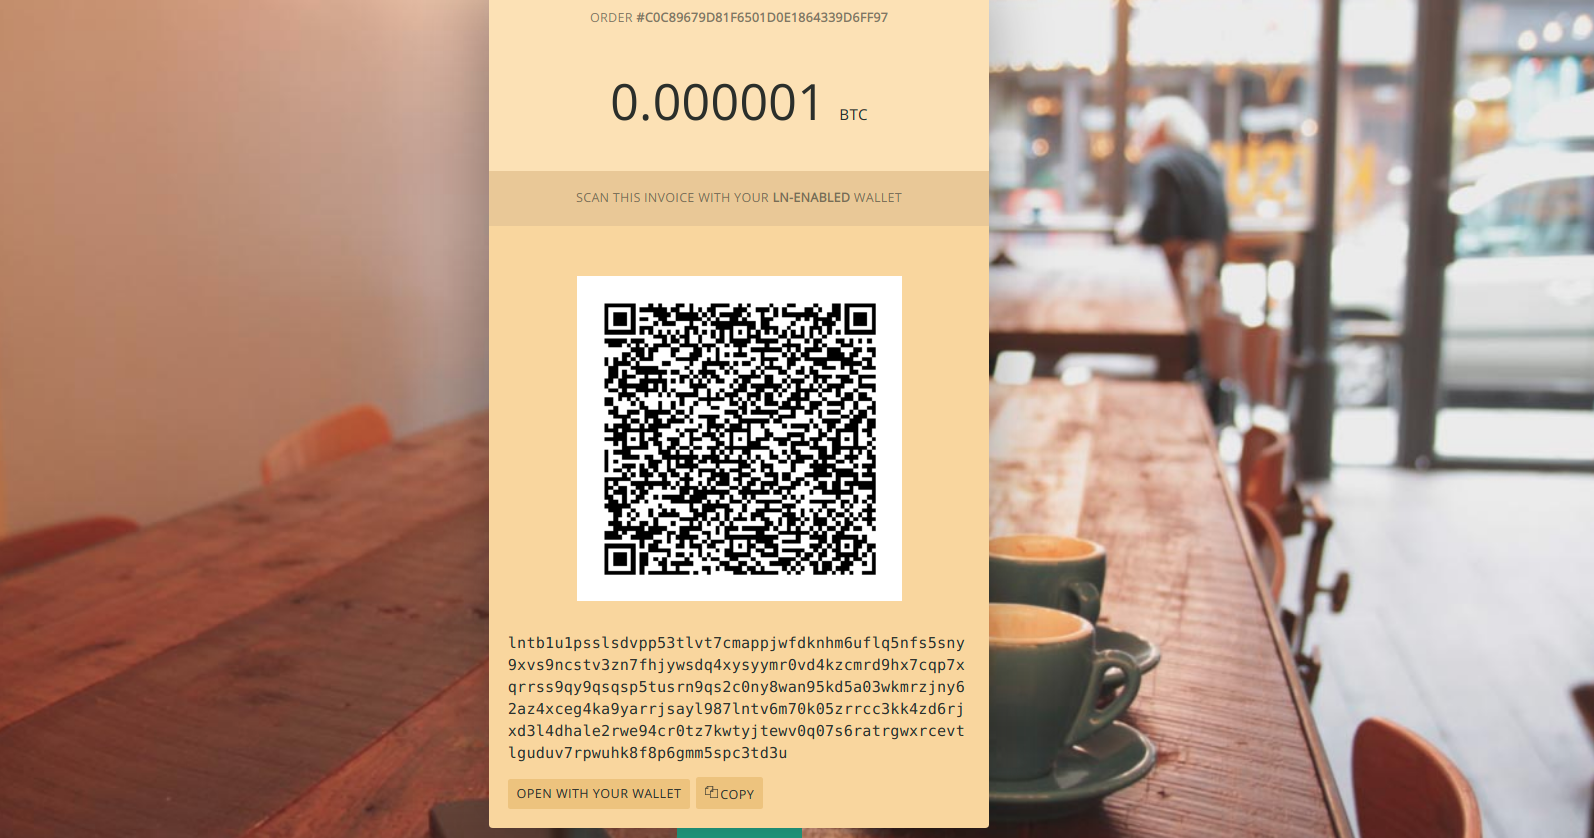
Before actually making the payment, make sure you have opened a channel with a well connected testnet node , else you’ll get error - route not found. Then you can make the payment as:
lncli-alice payinvoice lntb1u1pssl33hpp59xakst3ttnvled9gxasrttv5e5xrypdxcvgyrrmnakq7gcrf3fpqdq4xysyymr0vd4kzcmrd9hx7cqp7xqrrss9qy9qsqsp58308mxrqjx2tkhdz5qav5pueknk9mj3jedqe0r5azurcek84vnjq2utwmdq75n7j5tzcnkz63myc6pxpef8rfe33udag5x3u9t0agkrsljyygxmlcqyergwc0hqu79tnualyrme4apjuycdp9xur0w8vq7sqvz0f9wYou’ll get

Hurray you did it! 💥 Don’t forget to check Starblocks for confirmation.
Until next time, Enjoy your virtual coffee 😎👋🏻
